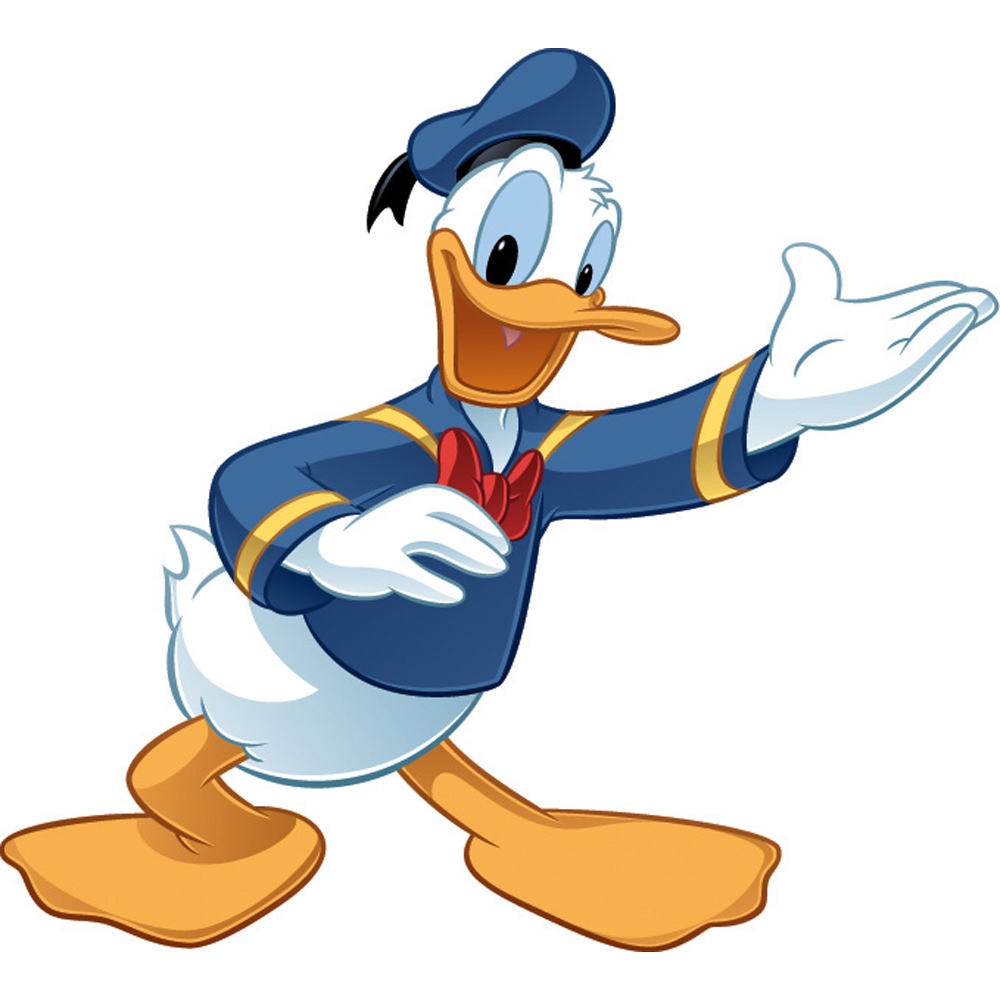
Sometimes, you may want to draw a pre-made image such as a jpeg file. For the purposes of this tutorial, please download this IMAGE into your MATLAB tutorial directory.
Next, start a new script with our standard code from the last tutorial:
clc;
clear all;
close all;
rng('shuffle');
Screen('Preference', 'SkipSyncTests', 1);
[window, window_size] = Screen('OpenWindow', 0, [0 0 0], [],32,2);
Now, to draw an image there are three steps. First, we need to load the image into MATLAB:
our_image = imread('duck.jpg');
Next, we need to convert this image into a texture, something that MATLAB can draw via PSYCHTOOLBOX.
our_texture = Screen('MakeTexture', window, our_image);
Last, we need to draw the texture:
Screen('DrawTexture', window, our_texture, [], []);
Finish this script off with the other usual commands and run it:
Screen('Flip',window);
WaitSecs(3);
Screen('CloseAll');
Again, if you are having trouble here is my code for this: my_experiment4.m
You will notice our duck is filling up a lot of the screen. You can force the image to fit in a specific window by change the DrawTexture command like this:
Screen('DrawTexture', window, our_texture, [], [200 200 600 600]);
This will force the texture to fit into the rectangle defined by [200 200 600 600].
Remember, you can learn more about PSYCHTOOLBOX commands by going to the website or using the help like this:
Screen('DrawTexture?')
Activities
1. Try loading your own jpeg image. Find one with Google images. Remember you have to place it in the MATLAB path.
2. Play around with where you draw the image and the size of the image by varying the size of the drawing rectangle Hint: [200 200 600 600].
3. Try to draw your image in a rectangle centred in the middle of the screen. HINT: Remember a few tutorials ago when we computed x_middle and y_middle? That is how you do it. I will leave it to you to go back and find that code but as another HINT the drawing command should look like:
Screen('DrawTexture', window, our_texture, [], [x_middle-200 y_middle-200 x_middle+200 y_middle+200]);
Play around some more and then move on to the next tutorial.